1/144 Revell Airbus A340 |
|
|
Gallery Article by Ted Johnston |
|
|
|
Building the Revell Airbus A340 Kit
In the May 2000 issue to The Dispatch I babbled on about the A340-300 kit that I was threatening to build.....well, it's done and most of you quite likely noticed it at the Contest in September.
Construction
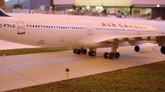
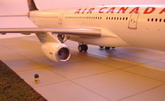
The overall fit of the kit is quite good and I didn't have any significant challenges in that department. The landing gear was a little bit tricky and I suspect that some of the part numbers are mislabelled in the instructions, I suggest that you have a good look at the instructions and the parts in this area. The wheels are designed to roll with one wheel having a long pin to go through the gear strut and plug into the opposite wheel, I broke most of the pins off by accident and ended up drilling holes and adding new pins made of brass rod. The positioning of the supporting struts for the main landing gear is somewhat vague and you will also need to study the parts and instructions to locate those parts. The nose gear oleo leg and the center main gear oleo leg are two peice items and consequently not very strong, I suggest installing the upper parts in the gear bays before you glue the fuselage halves together and adding the bottom parts later on. One of the wings was warped and I didn't notice that the ends of one wing didn't line up correctly so the winglet didn't attach very well later on so you will want to keep an eye out for that. There are a few extra parts that there is no mention of in the instructions the only part of note is number 89 which is an exhaust opening that goes on the tail (I suspect it is for an
APU).
|
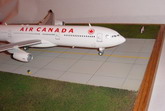
Click on
images below to see larger images
|
|
|
Painting
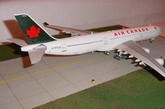
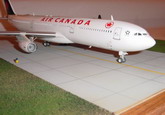
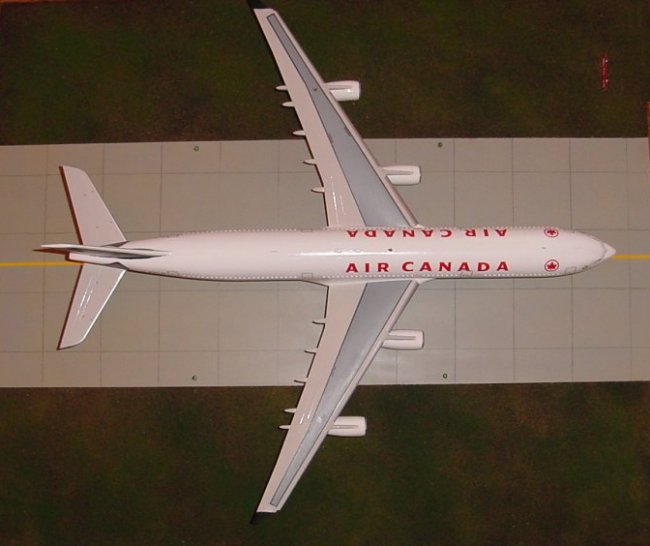
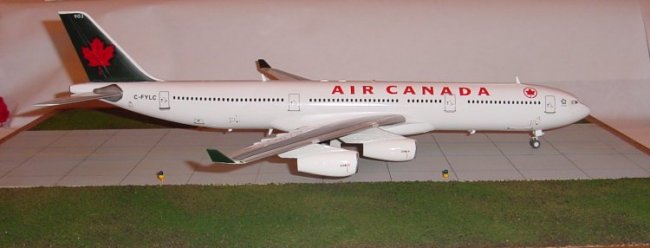
I painted the inside of the fuselage black as it makes the windows to the aircraft look more realistic. Make sure you also paint the inside of the tailcone black as there is an exhaust opening that looks dumb when you can see white inside. The wings were a challenge to paint as the instructions don't provide standard paint descriptions that we can relate to, I need more that light gray, dark gray as a description......In any case I painted the wings about 3 times until I found a combination that looked right according to my references. I used Gunze H1 Gloss White for the Fuselage and Tamiya XF11 IJN Green for the Tail, the Wings were painted overall with Xtracolour RAL 7035 and Floquil Ocean Gray for the Non Skid sections on top of the Wings. Quite a mish mash of paints but as the old saying goes: "Use what's in the Barn!".....and whatever looks right! The windscreen is a question mark, if you mask the clear part and use the raised detail as a guide the windows seem too small, the full size of the clear part looks closer to the true size, use your discretion here, the aftermarket decals for my next one uses a decal for the windscreen.
Decals
The Kit Decals are very nice......way too many of them but nice just the same! The decalling instructions give you 3 levels of difficulty depending on how much patience you have. The simplest uses no Data and just the main logos, the Advanced one uses every bit of data imaginable.....take your pick! The decals go on beautifully over the gloss white paint, I used setting solution to help position the decals and had no problems. Beware of the Air Canada Logo as it is very large and if you are rough with it you could stretch it out of shape.