|
I became excited to
begin my next model, but I decided to challenge myself and move to a new
level. I had been studying the Su-34 and decided to make it my next
project and chose the less than perfect 1/72 Italeri model of this jet. I
was determined to build a high quality model using the Italeri kit.
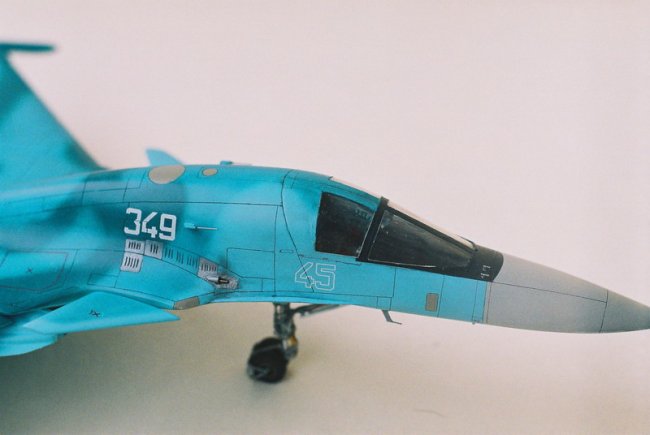
The model was finished using images and text from "Aeroplan" magazine
from Belarus. I also used photos of an "Su-34" by a publishing house "Poligon"
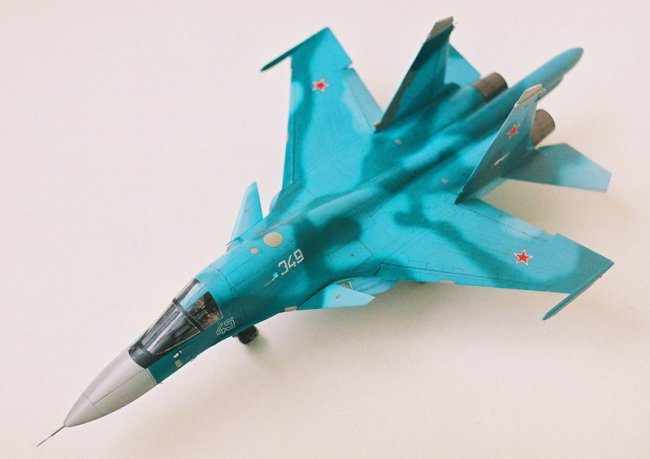
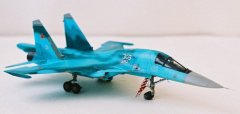
and numerous photos from the Internet. To me the plane with onboard number
"45", Су-34 serial is the one I liked the most and this is the variant I chose to build as my model.
I used a cockpit from NeOmega, wheels from Elf and a photo
etched set from Interavia.
|
Click on
images below to see larger images
|
|
|
 |
|
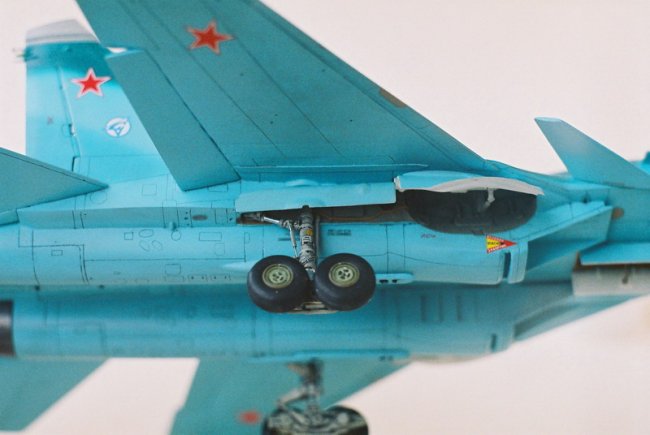
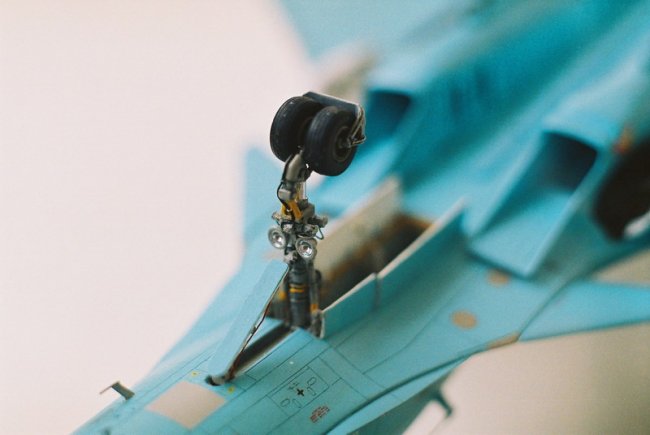
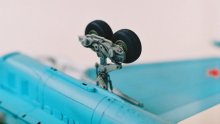
First of all, I
began with the landing gear. I used some ideas from this Russian article
(it has detail photos of the landing gear) by Andrey Kapinus (http://gallery.rumodelism.com/gallery/img17/m353.shtml).
You can get this article translated by going here... http://babelfish.altavista.com
and entering the above URL into the box.
The technique is to use wire and attach it to the landing gear to replicate the
hydraulic lines on the landing gear. This wire is held in place with tiny
"U" shaped brackets inserted into the landing gear (see the article for
photos in
the above link). Missing details on the nosegear were added
including the correct fender for landing on dirt landing strips.
The time has come to begin the fuselage. After studying the instructions,
I decided to insert pieces of plastic card 1mm thick at each end of the fuselage
in the area behind the wings. Excess card was trimmed away and remaining
card was sanded smooth and polished. The tails of the Kiel were moved
apart to achieve the desired look.
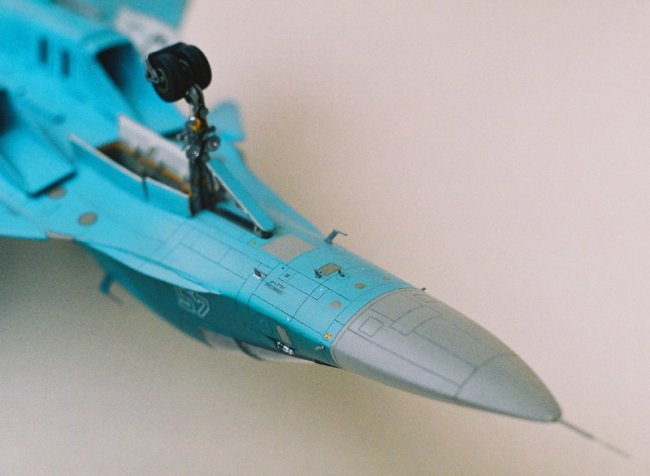
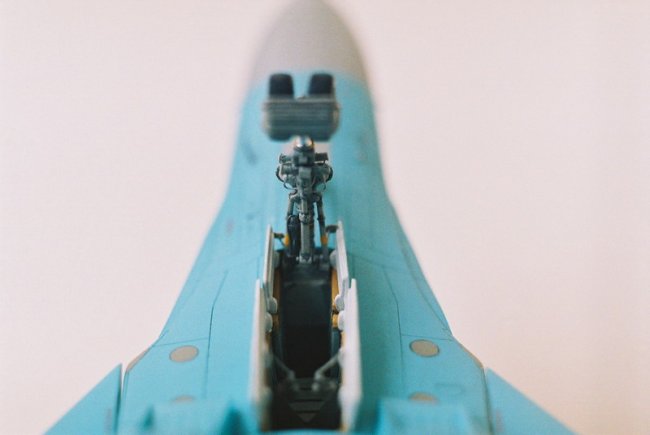
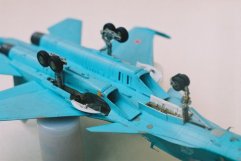
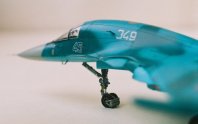
Now I had to detail the nose gear well, by cutting and positioning the gear
doors and scratchbuilding a new gear well. I also decided to scratchbuild
a new folding ladder.
Now I assembled and painted
and weathering the NeOmega cockpit and installed it into the top part of the
fuselage. On a back wall
inside the cockpit the entrance door is made which is visible
through the entrance hatch.
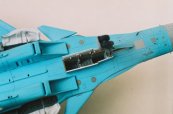
On the top part of the fuselage I cut out a opening for the refueling
probe. I also
cut
apertures for the cooling and ventilation of the gun. Apertures for air intakes
on
the motor covers
and the fuselage were also cut out. I glued the canopy after previously covering
it with Tamiya tape.
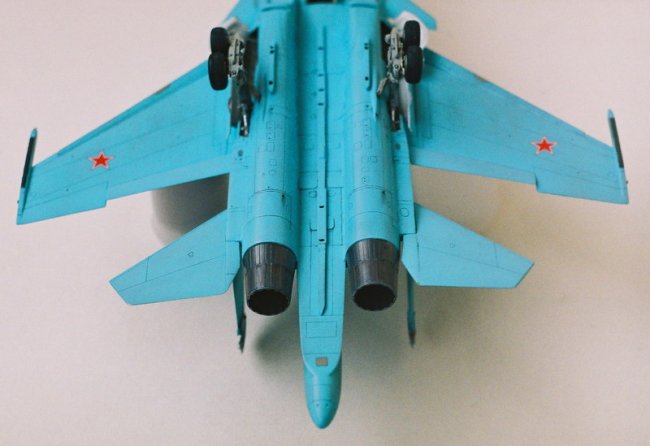
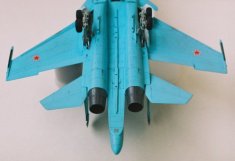
On the bottom part of the fuselage I altered the air intakes. I cut slots
on the air intake channels for the engines for the air and shutter of adjustment of
the air flow. I also corrected the gap between the wing and air intakes as a wedge. Inside
the air intakes I glued entrance channels for the engines from a set off a
Nakotne/Zvezda Su-27,after I had removed them from the donor kit and resized
them to fit my Italeri model. On the topside of the air intake
channels I made apertures. Now looking inside the air intakes you can see these
just like the opening to the air intakes on the real plane and there are no holes from above inside
channels. I removed the weapons attachment pylons and will attach new more
accurate ones according to reference drawings. On the exterior of the
engine compartments I glued thin sheet plastic to simulate certain access
covers.
|
Click on
images below to see larger images
|
|
|
 |
|
After gluing, half
the fuselage was inserted into the nose and cut out as per the drawings with my
X-Acto knife.
After some consideration, I decided to alter all panel lines on model according
to drawings. I scribed panel lines for access hatches. Any panel
lines that were sanded off were re-scribed.
I then tuned may
attention to the tail
beam. This area should be shortened according to the drawings, as this area is too long. Panel lines on
the beam were altered, and she was
safely glued into place.
The wings were altered and I dropped slats and flaps. On the underside of the
wing root I made details for the amplification of the wing, which are well visible
in photos. Where it was required, I altered panel lines and access covers panel
lines to match those on the real plane. The front stabilizers were cut to the
correct size. The transition on the fuselage from the base of the forward stabilizers to
the wing was slightly curved.
|
Click on
images below to see larger images
|
|

|

|
 |
 |
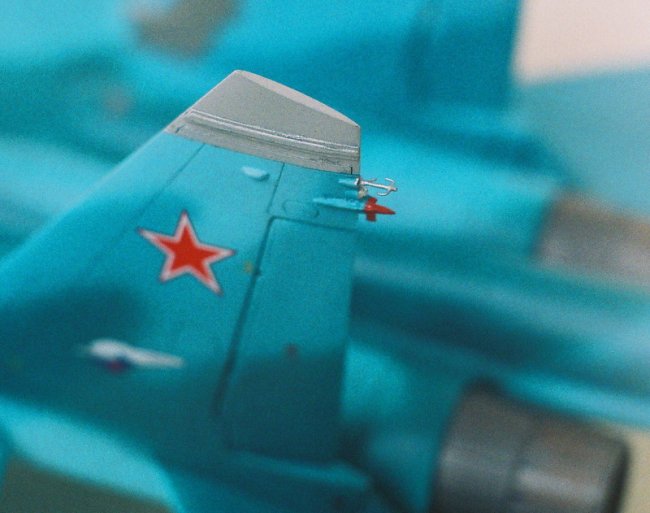
After comparing the
Kiel tail to the drawing, I realised, that it was not that necessary.
The solution was found rather easily. I had a Kiel tail from a Nakotne/Zvezda Su-27
model, so I used that tail after studying the drawings and put the kit tail
aside for possible use on another future model. It was necessary to alter the
air intakes, front
fires and the aerials on Kiel tail.
The stabilizers too were corrected. The headache arose where the part on the
stabilizer that enters into a groove on the Kiel tail. As I wanted to have
my stabilizers tilted upwards as they are on parked planes, it was necessary
to cut all new details for the stabilizer attachment parts from
slices of plastic. At this point in the assembly process, I focused on the
landing gear bays. I added basic details and I cut an opening for the emission of a gun near
the right
air channel (on flight).
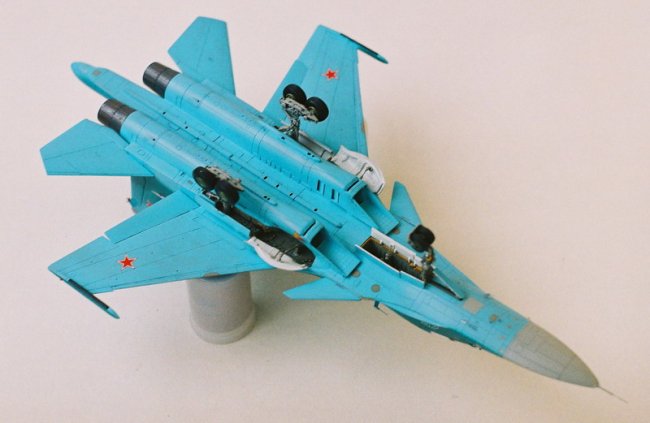
I didn't attach
weapons yet, once I can find some accurate rockets and other better weapons for this plane, then I shall
install them. The pylons for the weapons under the wings were not installed but
the attachment holes are present on the wing, but the underwing pylons aren't
always installed on this plane as can be seen on many reference photos. I
might install these at a later date. I did install the weapons pylons
under the engines as you can see in the photos.
|
Click on
images below to see larger images
|
|
|
 |

|
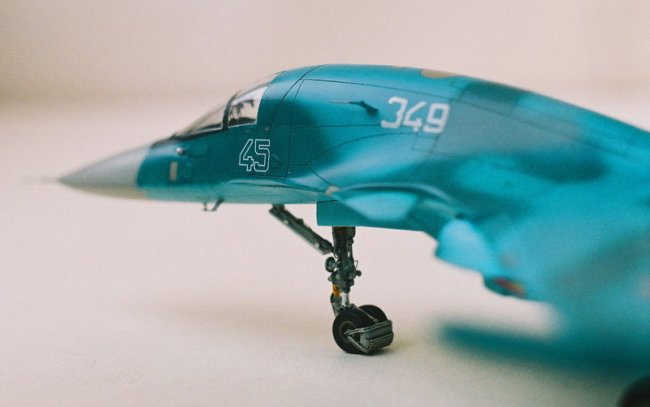
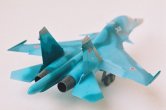
Before paint, I applied a base
coat of primer from Hobby+Plus. Colour paints were from the magnificent Russian
paints from АКАN, and I'd like to send special thanks to my Moscow colleague
Sergey Kulikov for his knowledge and helping me with the purchase. Radiotransparent parts
under the plane and landing gear wells were painted first.
Then they were masked with tape and the main colours were applied.
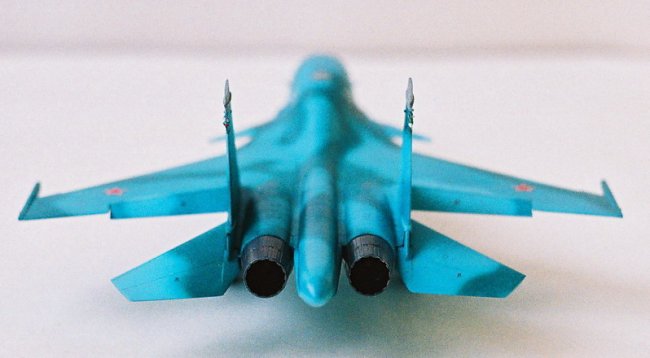
After it was painted,
looking at a photo, in my opinion, it turned out not too bad and looked authentic
enough.
I then applied a gloss coat to apply the decals. I only applied stencils
that I saw in my reference photo. I painted the panels of the gun, engines and exhaust nozzles
using Model Master metalizer paints. I
easily blackened the panel lines with the help of petrol Zippo and oil paint. In end the
model was
covered with a layer matt.
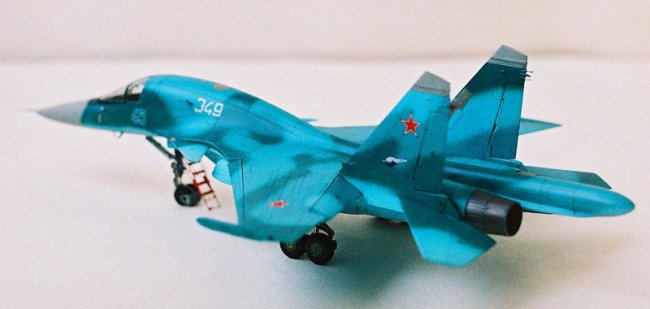
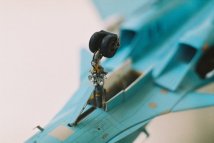
The moment of installation of all the fine details and landing gear has come. The fine
details and
aerials were made of a wire and thin plastic, all this was glued in place and
they were tinted
where it was necessary.
From photo etch, I made a ladder, painted it and the landing gear was inserted
into the nosegear opening. Time spent on the assembly of this model took approximately
one
half-year, with breaks to rest after labour-consuming operations. How it turned
out is for you to judge my friends.
Best regards!
Dima
from Belarus
|
Click on
images below to see larger images
|
|
|
 |

|
|