|
The
"last of the gunfighters" has been released by several model companies
in 1/72nd scale. Heller and Hasegawa were the most common. Still both models
were originally released a long time ago, and although with work they could be
built as decent models, they could no longer conceal their old age. Moulded
panel lines and all around details were the most obvious evidence that a
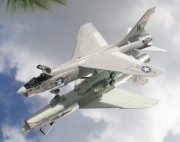
replacement was long overdue. The Crusader itself needs not to be presented. The
aircraft is famous thanks to its records over Vietnam both in US Navy or US
Marines Corps service.
The
model
Academy
improved a lot during the past few year to reach the highest levels of quality,
and I now anticipate their new releases as much as I do for Hasegawa, Tamiya or
Revell new models. Their Crusader model is very nice and crisply moulded. It is
a vast improvement over the Heller and Hasegawa forerunners. The model comes in
their usual light greenish grey hard plastic. It has 103 grey parts plus 7
clear parts. Most details are here. Panel lines
are recessed and complemented with rivets representation. Cockpit, landing gear
or air brake wells are well represented and this kit can easily be build out of
the box.
|
Click on
images below to see larger images
|
|
|
 |

|
Building
This
model can be built out of the box, but I wanted to try some aftermarket details.
Few actually. I had ordered the pre-painted Crusader detail set from the Eduard
range and I wanted to make a try of it. I also used a Verlinden MB Mk7 ejection
seat (designed for 1/72nd scale F-4 Phantoms actually). It is extremely sharply
painted with minute details. Some could complain against the ready for use
nature of these details but after all it's the same if you use decals. The only
possible default I found on these pre-painted accessories is that their base
colour seems very light (it should be FS36231) and it doesn't mate with my
enamel colours. The Verlinden Mk7 ejection seats I used were designed for F-4
Phantom II kits and they differ somewhat to their F-8 Crusader counterparts. I
believe that the differences were acceptable In the small 1/72nd scale.
The
rest
of construction is quite straightforward and very little putty if any was needed.
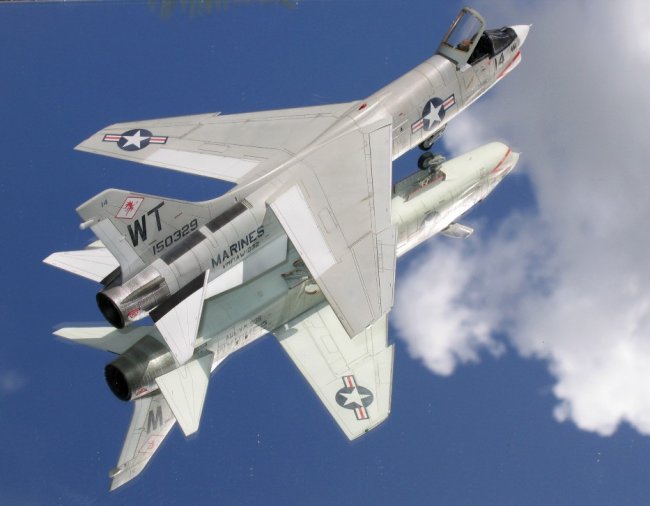
The air
Intake builds easily and completes into a deep air sucker. The main landing gear
and airbrake box builds into a detailed unit. It would not spoil a 1/48th model.
The landing gear units were detailed with photo etched parts for hydaulic lines
and fastening rings (remember that is a carrier aircraft).
Wing
builds as a 2 parts assembly which is easily cemented to the fuselage complete
with the correct angle.
Painting
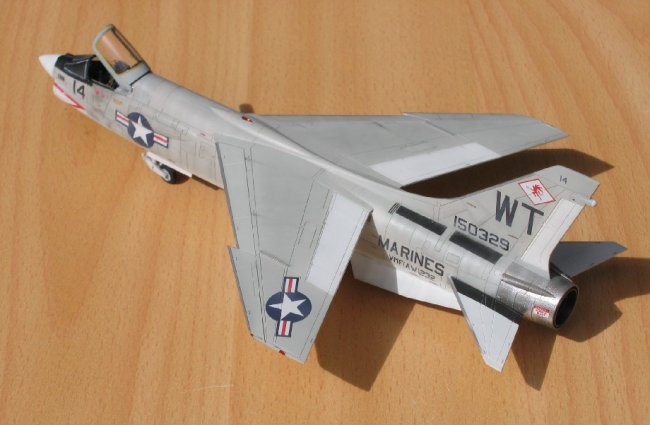
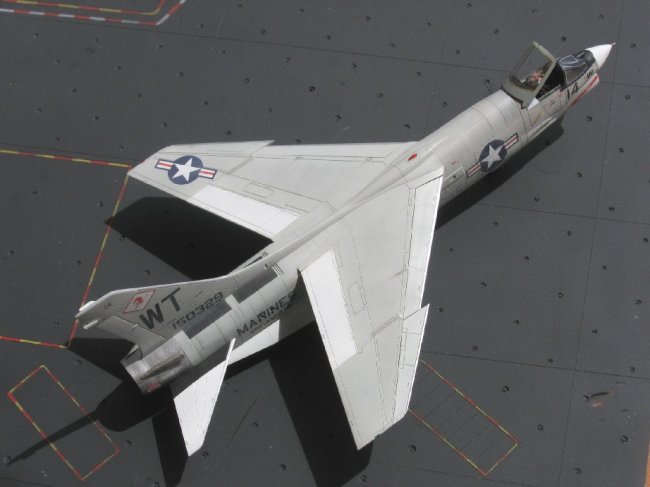
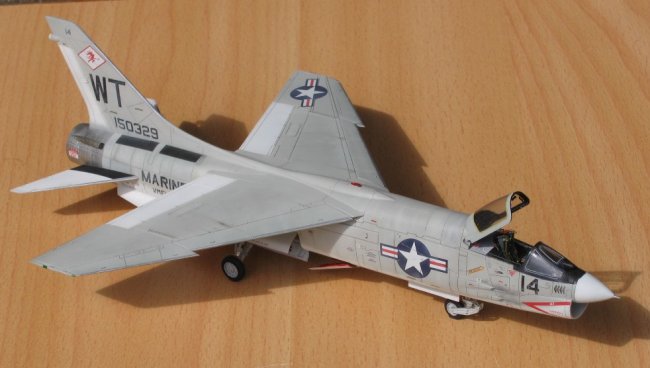
The
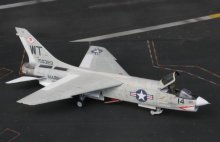
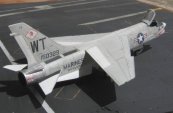
US Crusaders flew mostly during the light gull grey and white scheme with the Hi
Viz colours. So I did not have a long time choosing the overall colours from the
Gunze range of paints. Light Gull grey (FS26440) and white are the main colours
for that project.
At
the time I built my model I only had the kit decals in hand though I have
ordered several sheets ever since. They unfortunately did not arrive in time.
Kit decals are sharp although they are on the thick side. They adhere quite
well, but I had some difficult experience with large US National markings on the
fuselage sides, especially the port side one that goes over the IFR fairing. No
matter how much I tried or how strong decal softener I used (Micro, Carpena and
Daco ranges – that much) I could not make it conform tightly. I eventually was
happy to use the kit decal for VMF232 because I found a photograph of that very
machine and it came to me that I had not a single US MARINES Corps aircraft in
my current collection; I had built an F-18A ages ago but it is no longer there.
I
basically painted white first, then the light gull grey of the upper surfaces.
Some masking was exercised over the flying surfaces (flaps and rudder) and nose
cone that must remain white, whereas the fuselage grey/white line was airbrushed
freehand. Some more masking was done around windshield for the black anti dazzle
area.
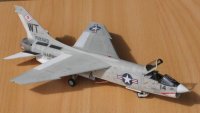
Once
the main colours are painted the Crusader looks the part but the paint is dull. I
therefore used variation (darker or lighter) of the light gull grey to paint
panels – as a representation of older faded panels or new darker panels). I
also painted vertical stripes freehand to give an impression of airframe stress.
|
Click on
images below to see larger images
|
|

|

|

|
Decalling
and Finishing
The
decal sheet is quite complete and sharply printed. It is also complete and well
designed. Except for the above mentioned large US National markings on the
fuselage side I had no problem with them providing I used decal softeners (Microset/Microsol
combination did the job).
As
I paint with acrylic paints, I use oil based colours for my panel lines. A thin
wash of amber, sepia or dark greys is used over the aircraft depending of the
main camouflage colour. Use relatively light colours for panel lines on this
model (no black here) because the recessed lines though sharp and thin are deep.
It
was time to add a few spots of colour around the aircraft to complete weathering
and paint all the lights (red and green translucent colours mostly) before I
could welcome this new model into my collection.
A
very good model indeed that was worth waiting. Sure I will have some more to
build and I will do so with pleasure.
Eric
|
Click on
images below to see larger images
|
|

|
|
|
|