|
The
Chinook is a well known transport helicopter, so there is no need to say much
about it.
The
Royal Air Force also received Chinooks, the first arrived in 1980 as Chinook
HC.1, mostly a CH-47C. The Chinooks now in UK service are Chinook HC.2, that are
CH-47D with some British equipment.
As
I wanted to build a Chinook HC.2 the CH-47D kit from Trumpeter was the kit of
choice.
The
kit
Trumpeter
has two Chinook kits in his program, the "A" and "D" model. The problem
with the "A" are that wrong engines are included, the one in the
"D"
model are correct.
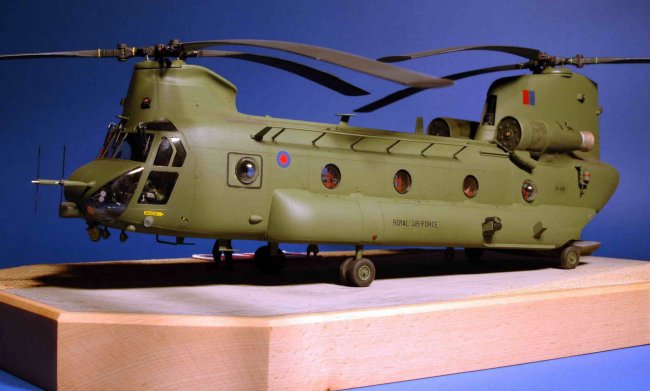
If
you plan to build a 1/35 Chinook, make sure there is enough space in your
showcase, as it builds into something really big, especially if you plan to show
it with rotors attached.
Construction
Starting
with the cockpit I added some plastic material and wire to make the wiring of the
instrument panel and hydraulic system of the paddles.
Click on
images below to see larger images
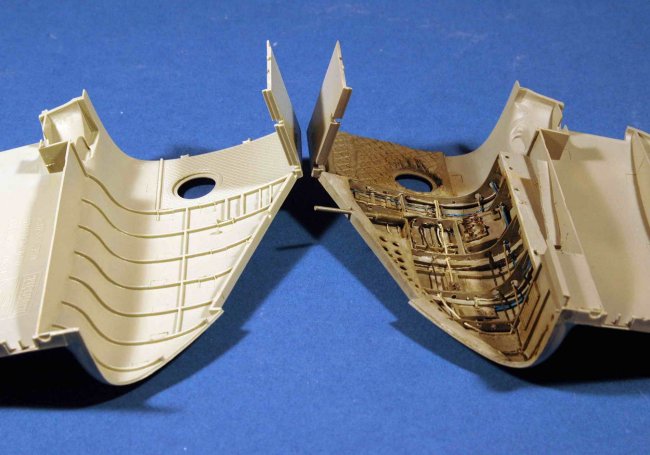
The
electronic rack was also wired, then I started to examine the interior of the
hull.
That
was where the decision had to be made to build the Chinook with closed cargo
ramp or doing a lot scratchbuilding, as the interior lacks a lot of detail and
the arrangement of the cargo ramp is totally wrong in the kit.
I
decided to start scratching, beginning with the inside structures, using
Evergreen profiles and Magic Sculp.
Click on
images below to see larger images
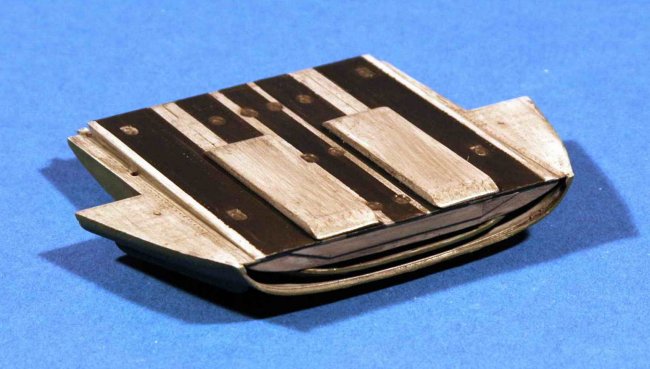
In
the rear area it is most important to add details, as it is well visible on the
finished model.
I
also added seats, they are not included in the kit, but I like the red colour
they add to the model and they bring some life into the huge cargo compartment.
After
completing the interior and fitting the fuselage halves together there was some
sanding necessary.
Click on
images below to see larger images
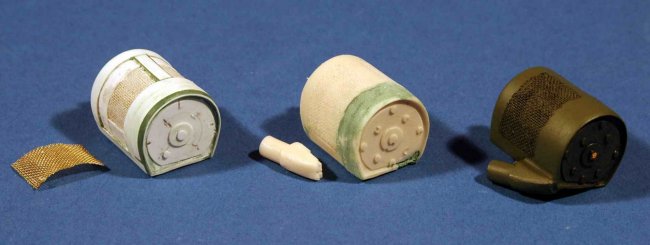
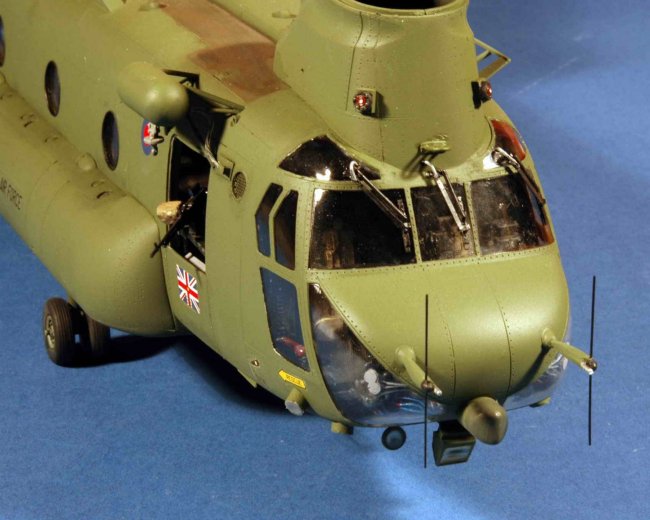
Then
it started outside, as I wanted to build a British helo I had to scratchbuild
most of the details, including most of the antennas, the winch, RWR, counter
measures and the big sand filters. Those are not absolutely necessary as only
fitted in sandy areas, but I like the bulky look of it, so I made a master and
resin copies.
Click on
images below to see larger images
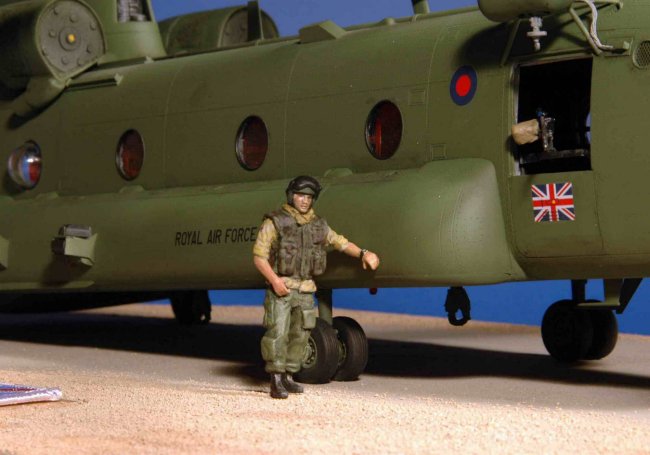
After
completing the painting (Airbrush and Gunze Colour) I started to fix the smaller
details, such as scratchbuild wipers, lights and the machine gun.
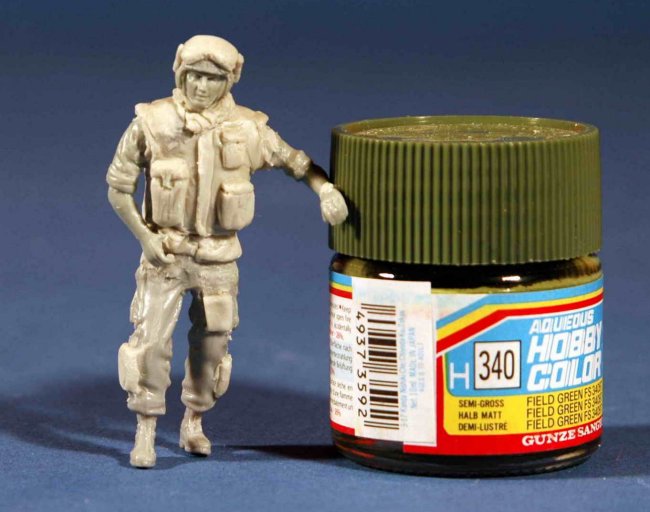
At
last I made a display, a sandy road somewhere in the desert and a crew member
standing beside the aircraft. The crew member was made using some parts of
Dragon figures and Magic Sculp to form the flying suit.
And
that’s it, after 3 months of building, I've got a really big helicopter model.
Hope,
you like it,
Thomas
Click on
images below to see larger images
|