|
The Scorpion made an
indedible impression upon me exactly a half century ago. I, as a young lad, had
my nap in my parents' Olds 88, driving somewhere in Pennsylvania on our way to
Niagara Falls, suddenly terminated by a F-89H landing, clearing our
vehicle not more than 20 feet, or so it seemed at the time. The massive size of
the plane, the unit markings, the jet engine noise, my first whiff of JP-4 - it
all served to etch that memory in my mind. I decided to commemorate that half
century event by building a F-89 kit.
Click on
images below to see larger images
I had several kit
options from which to choose: there was the diminutive Revell F-89 kit, a 'D'
variant, but was much too dated with a lack of detail expected these days; there
was the now-deceased, but easy to find Hobbycraft kits of the F-89; then there's
the latest Academy offerings. I opted for the Hobbycraft F-89H for a mix of
reasonable cost and getting enough detail to fashion a good looking model. The
Hobbycraft kit has both raised and recessed panel lines, but the raised ones
were not massively tall to warrant sanding off and scribing; I took more time to
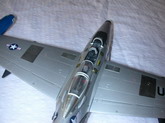
sand and polish around these lines to not erase them. The cockpit parts were
very good for the money, as the consoles have molded raised control knobs on
each side, instead of a simple slab of plastic with console decals. The seats
also came with molded belts (with tiny buckles) on the back side. I merely
fashioned masking tape belts for the bottom portion. Finally, the instrument
panels also had molded outlines on them. As reference photos of the F-89 showed
virtually blank panels when shut down, it was fairly easy to lightly scrape away
the painted black from the gauge outlines.
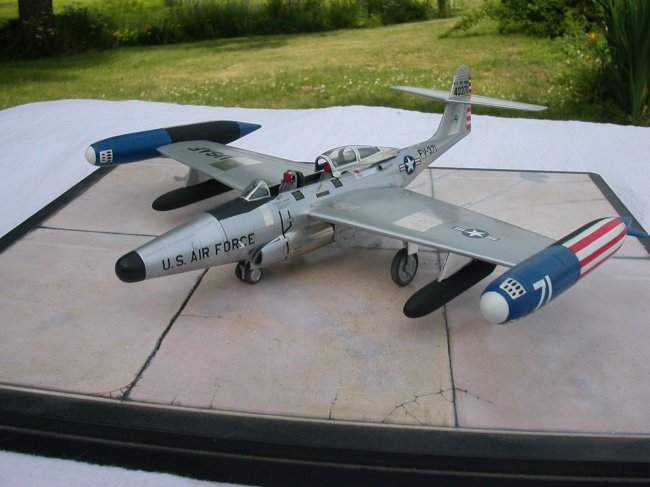
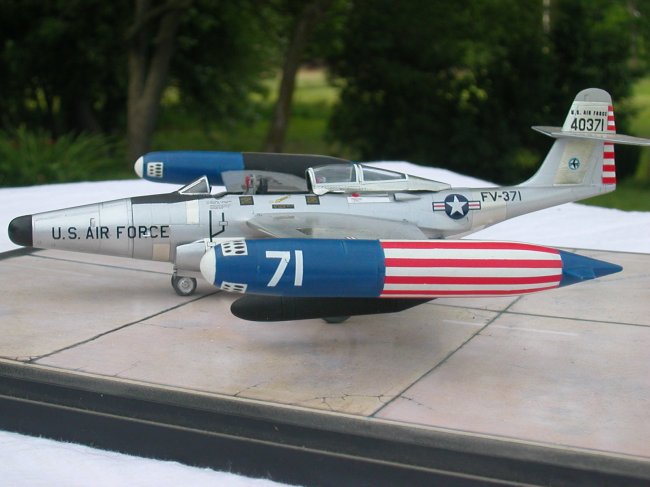
The Hobbycraft kit
was rather miserly as for decals: two rather blah looking ANG units were
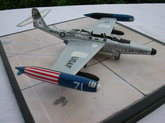
offered, but I wanted to build a replica of a 76th FIS Scorpion, a unit with red
and white stripes to accent a blue front end of the wing tanks, plus a red and
white striped rudder. I saw SuperScale had a decal sheet for this unit, but it's
long out of production, plus about impossible to find. So I hand painted the
markings. I used Testor's Model Master enamel paints, only employing red decal
cut to proper width for that feature on the tanks and rudder.
As virtually all
F-89H craft were left in natural metal finish, I had to choose how to best show
this look. I know Alclad II is what most modelers would have used, but I never
warmed to the steps needed to make that system work. Instead, I used Testor's
buffing aluminum plate over the entire model, then made liberal use of the many
shades of aluminum made by Bare Metal Foil (BMF). From examination of hundreds
of Scorpion photos, no two planes looked exactly alike, due to construction
techniques using different batches of aluminum plate, degree of buffing done by
workers, etc. That resolved, I used my eyes to place what I felt looked
realistic and appealing, making sure to make the applied BMF symmetrical about
the plane's center line.
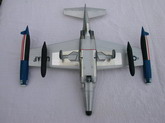
From my exam of many F-89
photos, I was also struck by many jets with a stained, soiled look,
especially the large wing tanks. That was rather understandable, as the
front end of those structures housed the armament on later variants. That,
plus that relatively massive blank surface area begged for some colored
paint to be applied. I chipped some of the decals to duplicate this
condition, but didn't feel I should overdo it with the pastel chalk and
dark oil wash.
My next self-imposed
project is to build one of each of the mass produced variants of the F-89 - five
in all. Wish me considerable patience and luck.
Carl Jarosz
|
|