|
I built this
model over 2 years ago and when I posted the pics of it many of you asked
me to do a "how to" article on the weathering methods I used. I
did the article as asked but I must have screwed something up because
it never got published on ARC that I know of. Then, life
happened and some issues arose that were out of my control and I had to
lay down the hobby for the last couple of years. I returned to
ARC a couple of days ago and when I logged on, I still had private
messages asking me to do this article so here goes.
I'm
far from a "pro", as a matter of fact, this is my 8th
or 9th completed build with a half a dozen that didn't make it
to the finish line and became airbrush fodder. I'm still just
enamoured with the "build" process and haven't delved into
"accuracy", and I don't really know all the "lingo",
so just bare with me please.
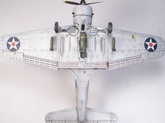
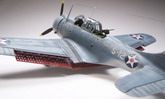
Click on
images below to see larger images
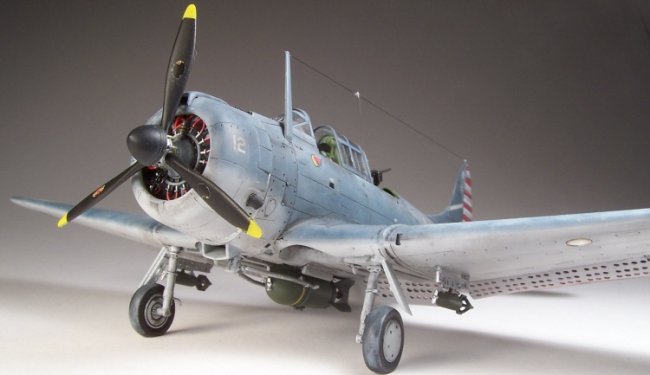
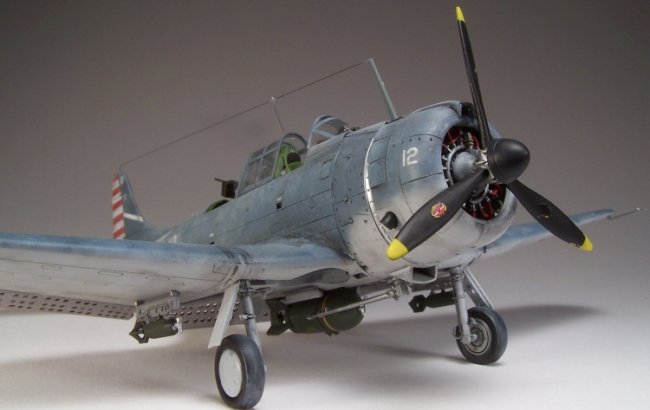
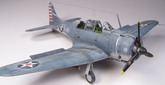
As stated
above, this is the 1/48 Acc Min. SBD-3 straight from the box. Trust
me, it needs nothing but maybe the PE dive flaps and some seat belts.
She went together fairly decent with the minimal of sanding and such.
I mixed all of
the exterior colors from tamiya acrylics. I mixed 4 (from lightest
to darkest we'll name them 1,2,3, & 4) different shades of the
original topside color for the weathering effects, and just one shade of
the bottom side color. I painted her up factory fresh with
shade 3 to begin with and when it had dried over night, I applied a couple of coats of future til' she shined like a new
penny. After all had cured, I applied her decals and put
em' to bed with some Micro sol and set. I then applied an artist oil
wash of dark grey. Then another coat of future to seal the
deal.
I began the
weathering process by taking a spray bottle of water and misting the model damp
with it, then I sprinkle table salt onto the upper side. When
salt hits water it clumps up into many different shapes. I would move
the salt around as needed with a toothpick. When the mist dried, the
salt would stay in place as a "hap-hazard" mask. I then
loaded my airbrush with Tamiya smoke and thinned it down 50/50. I worked the smoke around things that weren't in the direct sunlight all the time,
like the side walls of the fuselage. I would darken a few panel
lines here and there with no real method to the madness. When the
smoke dried, I washed the salt off underneath my bathroom faucet. Then,
I repeated the process except now I'd load my airbrush with shade 4, repeat
the process and load shade 2, then 1, each time misting, salting, spraying, and
washing the salt off. The lighter the shades got, I'd concentrate on
the top of the wings and fuselage. I would hit the decals with a
light mist to fade them a bit. I masked off different panels so it
would be lighter here and darker there. Everytime I salted the model,
as physics would have it, the salt never landed in the same pattern (which
is what you want) so this created a splotchy looking paint job that you see on
most navy planes. Don't panic, with acrylic paint, I accomplished
this whole process within 4 hours. After the final salting and
washing, I thinned down shade 1 to about 70% thinner, 30%
paint and softened up the salt mask edges and loaded other shades and did the
same to my liking. The rest of the fading and such was done with dry
brushing and pastels.
Saltydog
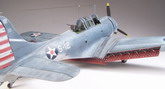
Click on
images below to see larger images
|
|