|
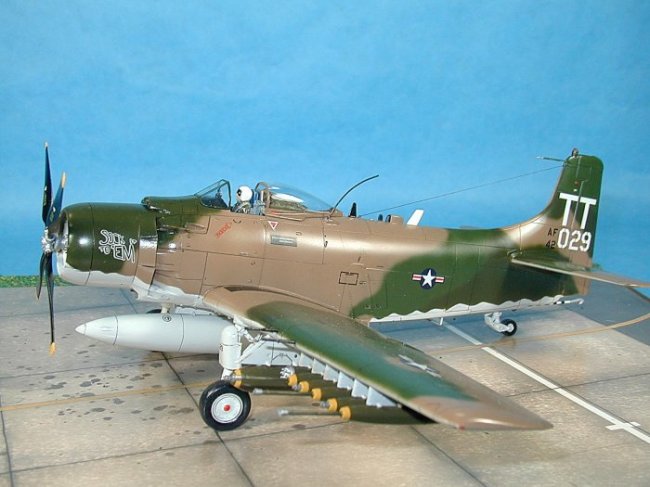
If it absolutely,
positively had to be destroyed, the Douglas AD Skyraider could deliver 8,000 lbs
of bombs, torpedoes, rockets and mines. Hello everyone, here is my 1/48 scale
Tamiya A-1J Skyraider.
The Skyraider went
by a number of names such as: Dauntless II, AD, A-1, Able Dog, SPAD, and Sandy.
A directive standardized the designation of Navy and Airforce AD-6s and AD-7s to
A-1Hs and A-1Js. In 1965 hundreds of Skyraiders were deployed to Vietnam.
Unquestionably the Skyraider was the most versatile single engine propeller
driven aircraft ever manufactured. In performed in many roles for over 35 years.
The amazing thing was that it was conceived overnight in a Washington D.C. hotel
room.
Click on
images below to see larger images
CONSTRUCTION
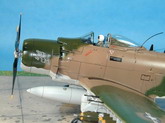
This kit was
a straight forward hassle free kit to build. In other words, it was a dream to
build. Parts fit like a glove, requiring very little filling and sanding. It was
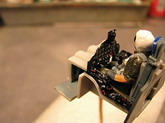
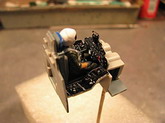
an out of the box build except for the whip antenna and the canvas cover for the
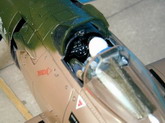
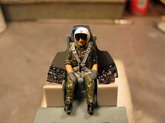
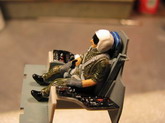
canopy actuator. USAF A-1Js were equipped with an FM622 whip antenna located
just aft of the canopy for communicating with ground troops. I fashioned the
antenna mount from a piece of sprue. For the antenna, I used a short length of
thin piano wire. Thin piano wire makes excellent whip antennas.
I made the canvas
cover for the canopy actuator from a piece of facial tissue soaked in water and
white glue. I then placed the soaked tissue over the canopy actuator and let it
dry. Once the tissue dried, it was quite stiff, and then I painted it with olive
drab enamel paint. Amazingly it looks like a piece of canvas.
PAINT SCHEME
I airbrushed the
model for a factory fresh paint job using Model Masters enamel paint. The first
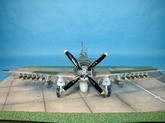
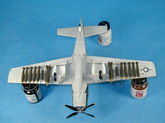
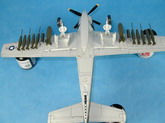
Skyraiders sent to Vietnam were painted all over light gray. On later aircraft,
the upper fuselage and wings were camouflaged with a medium green, dark green,
and a dark tan color scheme. The bottom surface was painted either light gray or
black. I chose to have a light gray bottom surface.
Tamiya provided a
full 1/48 scale camouflage page so you could make painting masks. However, I
chose to airbrush the camouflage pattern freehand. This way you get soft edges
instead of hard edges as with painting masks. Once the paint was dry (72 hours),
I airbrushed the model with a coat of Future in preparation for decaling. I let
the Future dry overnight, then applied a pin wash to enhance the panel lines. I
then let the model set for 72 hours before decaling.
DECALS
Decaling this model
was a piece of cake. I used the kit decals, which were excellent, well printed,
easily placed on the model, and snuggled down nicely to the model. After applying
the decals, I ran a damp cloth over the model to remove any residue, then
airbrushed the model with a light coat of Future. I finished off the model with
a coat of MM Semi Gloss Clear Lacquer Finish.
This kit was of
excellent quality, well engineered, typical of Tamiya model kits, and just plain
fun to build.
Burt
Click on
images below to see larger images
|
|